
If you encounter an importer that reported a generic error while working on Adobe Premiere Pro, then this is the place where you will get the solution as well as the easiest way to fix this issue. If you face this error on your system, please do the following –
- Check the file format of the video as well as the codec
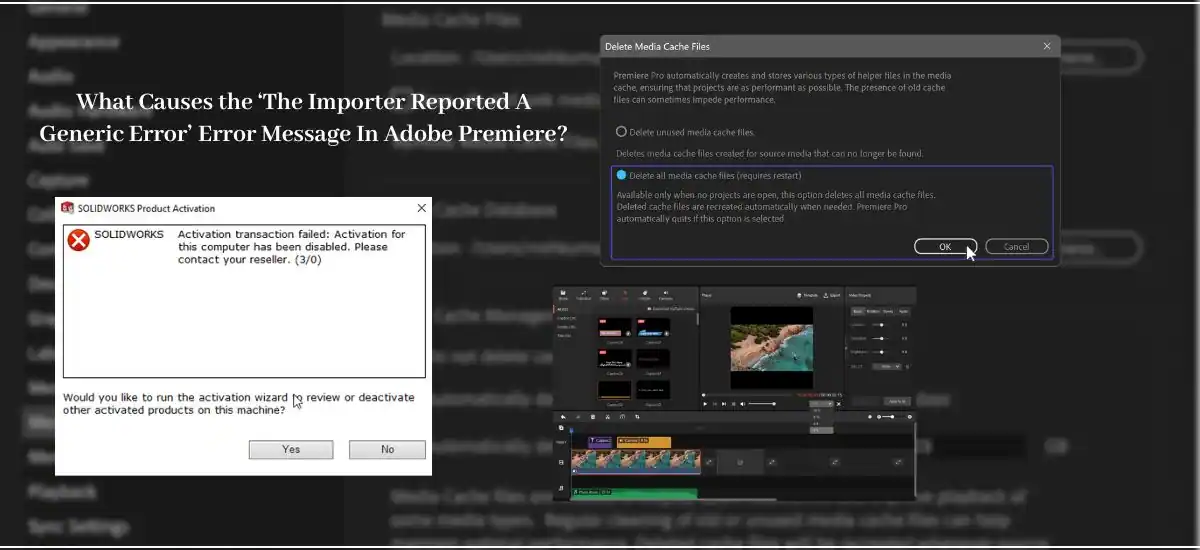
- Clean the media file cache
- Cut the files and paste them to a separate location
- Rename files
- Reinstall Premiere Pro.
These are the 5 best solutions that you can try to solve this error on Adobe Premiere Pro. and in this article, I am going to explain all these 5 methods along with the detailed steps so that you can try them on your own without any difficulties. So let us stop any further discussion and dive straight into the topic.
What Causes The Importer To Report A Generic Error?
Adobe Premiere Pro is probably the most popular software for video editing. Adobe introduced this software in 2003. Since then, it has been updated from year to year and is getting more efficient to work in professional fields. But sometimes, just like many other computer programs, it produces a few errors too. And one of them is the generic error. And here we will discuss how to solve this error.
But before going directly to the solutions, you should know the key reasons that can trigger this error on your Premiere Pro workstation. Below, I have mentioned a few popular reasons behind this annoying error. Just go through them once to get a brief idea of the reasons.
1. Unsupported Codec
Unsupported codecs always bring this error on Adobe Premiere Pro. If you do not know what a codec is, every video recording device uses separate codecs. And if the device uses a codec that does not support Adobe Premiere Pro, then the video file will not be added to the timeline.
2. Unsupported File Format Of The Video
If the file format of the video file you want to import does not support Adobe Premiere Pro, then you can face this annoying error.
3. Activation Issues
If you are using a version of Adobe Premiere Pro that is not properly activated, you can face this error.
4. Video File Name
Sometimes, the name of the video files can create this issue. Try to avoid symbols in the names of the video files. Now let me tell you about the steps of all 5 methods so that you can solve this issue on your Adobe Premiere Pro and continue editing your video.
Methods And Steps To Fix This Error
Here I am going to mention all the required steps for all five methods to solve this error in Adobe Premiere Pro. Let’s start with method 1, that is, checking the file format and codec.
Method 1 – Check Codec And Video File Format
If you ever encounter this error while working on Adobe Premiere Pro, the first thing you should do is check whether the codec and the video file format are supported in Adobe Premiere Pro or not. There are a few codecs that do not support Adobe Premiere Pro. If you ask about the QuickTime codec, it once supported Adobe Premiere Pro, but in the newer versions of the software, it will not support it.
So if you find that it is a codec problem, please transcode the video file to a supported codec. Same thing you have to do if the video file format is not supported by Adobe Premiere Pro. you have to convert the video files to a supported video file format to continue the editing.
Method 2 – Clean The Media File Cache
This is the 2nd thing you should do to overcome this error on Adobe Premiere Pro. deleting media cache files can solve a lot of glitches along with this error too. Below I have given the steps to delete media cache files. Read them and apply them.
- Close Adobe Premiere Pro.
- Open Windows Explorer.
- Type users\<username>\AppData\Roaming|Adobe|Common in the directory box and hit Enter. Replace the username with the name of your PC.
- Select all files.
- Delete them.
- If you are using a Mac, then go to the /Users/Library/Application Support/Adobe/Common directory and delete all files from here.
Method 3 – Cut And Paste Files To A Different Location
The path of the video files could create problems at times, and this can be a reason behind this error on your Adobe Premiere Pro. so you can try to move the video files to another location and check if the problem is still there or not.
Method 4 – Rename Files
As I said before, if there are any symbols in the name of the video files, then you could face this error while editing on Adobe Premiere Pro. so it is better to try renaming all the files and check whether the problem is gone or not.
Method 5 – Reinstall Adobe Premiere Pro
If nothing works for you, there is a last option. You can try to reinstall Adobe Premiere Pro and check whether the problem is gone or not.
Below is the process of reinstalling the software.
Before reinstalling, you have to uninstall it.
To uninstall Adobe Premiere Pro –
- Open Control Panel.
- Click Uninstall a program
- Find out Adobe Premiere Pro and select it.
- Now click Uninstall.
- When the uninstallation process finishes, open the location where you have the setup file of the software.
- Double-click on the setup file of the software.
- Follow the instructions.
Why Am I Getting the “The Importer Reported A Generic Error” In Premiere Pro?
There can be more than one reason behind this. Either the video files you want to import do not contain the supported codec in Adobe Premiere Pro or the file format of the video files is not supported in Adobe Premiere Pro, the names of the video files might be problematic, or there can be an activation issue with the version of the Adobe Premiere Pro software.
Whatever the reason is, try the methods and apply the steps that I have mentioned above to overcome this error.
Frequently Asked Questions
Q1. How do I fix file import failures in Premiere Pro?
Ans. Check the file format of the video as well as the codec, 2. Clean the media file cache, 3. Cut the files and paste them to a separate location, 4. Rename files, or 5. Reinstall Premiere Pro.
Q2. How do you fix this file as it has an unsupported compression type?
Ans. Check the file format of the video as well as the codec, and transcode or convert the video files if required.
Q3. How do I import an XML file into Premiere Pro?
- Open Adobe Premiere Pro.
- Create a New Project.
- Press Ctrl + I.
- Select the XML file.
- Click Import.
- Click + drag the file into the timeline.
The Final Words
So, if you were tensed by the annoying generic error while trying to import video files into the timeline of Adobe Premiere Pro, now you should be tension-free as I have shown you how easily you can solve it. So, all the best!
Related Posts: